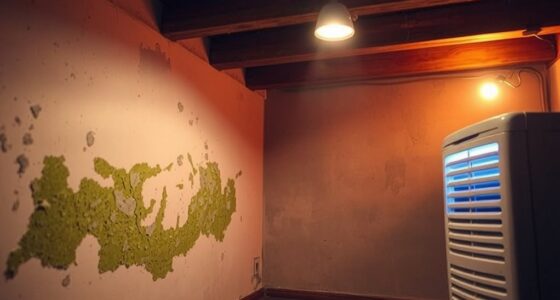
To keep your home warm affordably, start by installing thermal curtains that trap heat and block drafts. Use draft stoppers along door bottoms and window sills to prevent chilly air from sneaking in. Seal gaps around windows and doors with weatherstripping or caulk for a tighter seal. Add insulation behind radiators or in the attic with foam or reflective material. Combining these easy DIY tips can substantially boost warmth and save on energy bills—there’s more you can do to improve comfort.
Key Takeaways
- Install thermal curtains to block drafts and retain heat, covering entire window frames for maximum insulation.
- Use draft stoppers along doors and window sills to prevent cold air from entering and keep indoor warmth.
- Seal gaps and cracks with weatherstripping or caulk to reduce air leaks and improve heating efficiency.
- Add DIY insulation materials like foam or reflective panels behind radiators or in attics to boost thermal resistance.
- Focus on consistent sealing and covering of all drafts and gaps for cost-effective, noticeable improvements in home warmth.
If you’re looking to cut energy costs and improve your home’s comfort, DIY insulation hacks are a practical solution. You don’t need to be an expert to make a noticeable difference. Simple steps like installing thermal curtains can considerably reduce heat transfer through your windows. These curtains are designed with insulating materials that trap warm air inside and block cold drafts from sneaking in. When hanging them, ensure they cover the entire window frame and extend below the sill for maximum effectiveness. Closing them at night or during the coldest parts of the day can help keep warmth inside longer. Combining thermal curtains with draft stoppers—those handy fabric tubes filled with insulating material—can make your windows and doors even more airtight.
Seal windows with thermal curtains and draft stoppers for a cozy, energy-efficient home.
Draft stoppers are easy to place along door bottoms and window sills, preventing cold air from entering and warm air from escaping. You can buy them or make your own by filling a fabric tube with rice, beans, or insulative batting. Simply measure the width of your door or window and sew a tube to fit snugly. When placed correctly, draft stoppers create a barrier that stops chilly breezes, making your living space feel warmer without cranking up the thermostat. It’s a quick fix that costs little but yields noticeable results, especially in drafty areas.
Another effective DIY insulation hack involves sealing gaps and cracks around your home. Use weatherstripping tape or caulk for windows and doors, focusing on spots where drafts are most prominent. These small gaps are often overlooked but contribute heavily to heat loss. Applying weatherstripping or caulk is straightforward: clean the surface, apply the material along the crack, and press firmly to seal. This process reduces unwanted air infiltration, helping your heating system work more efficiently and lowering your energy bills. Additionally, understanding the different wax types used in DIY projects can help you choose the best materials for sealing and insulating your home effectively.
For additional insulation, consider adding foam or reflective insulation to attics, basement walls, or behind radiators. These materials are inexpensive and easy to install, providing extra thermal resistance where needed most. When combined with thermal curtains and draft stoppers, they form a thorough DIY approach to insulating your home. Remember, the key to effective DIY insulation is consistency and attention to detail—small improvements in sealing and covering can lead to big savings over time. You don’t need costly upgrades; with a few simple tools and materials, you can make your home warmer and more energy-efficient all season long.

Nkiy Quen 3 Layer 63 x 47 Inches Winter Insulated Window Curtain-Oxford Thermal Insulated Window Blanket with Fastener-Gray Window Insulation Kit for Winter Keeping Warm
Practical Set:We offer you 1 piece 63"L x 47"W gray winter insulated curtain, 1 roll 18ft fasteners and…
As an affiliate, we earn on qualifying purchases.
As an affiliate, we earn on qualifying purchases.
Frequently Asked Questions
How Can I Identify Hidden Drafts in My Home?
To identify hidden drafts, you should perform draft detection by feeling around windows, doors, and electrical outlets for cold air. Use a lit incense stick or a feather to detect air leaks—if the smoke or feather moves, you’ve found a draft. Once identified, seal these air leaks with weatherstripping or caulk. Regular draft detection and air leak sealing can markedly improve your home’s warmth and energy efficiency.
What Insulation Materials Are Eco-Friendly and Cost-Effective?
A penny saved is a penny earned, so choose eco-friendly insulation that’s both affordable and sustainable. You’ll find natural insulations like sheep’s wool, hemp, and cellulose made from recycled materials, offering excellent thermal properties. These options are cost-effective, renewable, and kinder to the environment. By opting for natural insulations, you keep your home warm while reducing your carbon footprint—an investment that truly pays off in the long run.
How Often Should I Replace or Upgrade My Insulation?
You should consider replacing or upgrading your insulation every 15 to 20 years, depending on its insulation lifespan and condition. Regularly check for signs of wear, moisture, or compression, which can reduce efficiency. If you notice increased energy bills or drafts, it’s a good time to upgrade. Staying proactive ensures your home remains warm and energy-efficient, saving you money while maintaining comfort.
Are There Safety Tips for DIY Insulation Projects?
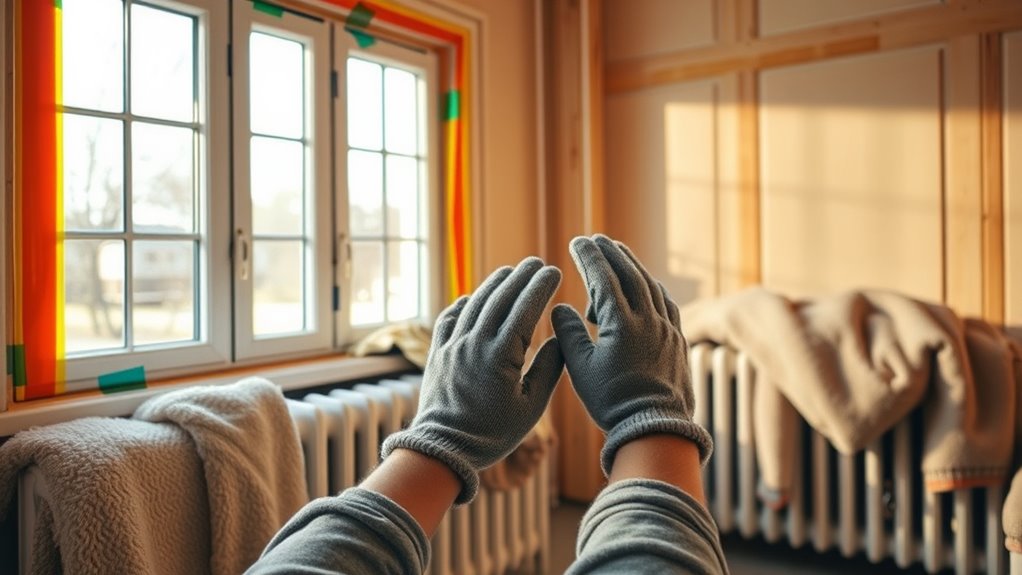
Did you know DIY insulation projects can substantially improve your home’s energy efficiency? To stay safe, always wear proper safety gear like gloves, goggles, and masks to protect yourself from dust and fibers. Make certain to follow ventilation precautions by working in well-ventilated areas and taking breaks to breathe fresh air. Taking these precautions helps prevent health risks and ensures your insulation project goes smoothly.
Can Insulation Hacks Improve Indoor Air Quality?
Yes, insulation hacks can improve indoor air quality by enhancing air circulation and reducing pollutants. When you add proper insulation, you help prevent drafts and moisture buildup, which can trap pollutants. Improving air circulation allows fresh air to flow more freely, lowering indoor pollutant levels. These simple upgrades make your home healthier and more comfortable, all while keeping energy costs down. Just make certain you’re using safe materials and following proper installation techniques.

Holikme Door Draft Stopper Door Sweep Weather Stripping Noise Blocker Window Breeze Blocker Adjustable Draft Door Closers, Grey
Easy to install: adjustable size for most homes; Please measure the gap and width of the door before…
As an affiliate, we earn on qualifying purchases.
As an affiliate, we earn on qualifying purchases.
Conclusion
With these DIY insulation hacks, you’re arming your home like a cozy fortress, ready to fend off chilly chills. Think of your efforts as a warm blanket wrapping your space in comfort, all without breaking the bank. Each small fix adds up to a fortress of warmth, making your home a sanctuary against winter’s bite. So, roll up your sleeves and turn these simple tricks into a shield that keeps you snug and secure all season long.

Holikme Weather Stripping Door Seal Strip 33 Feet, Sealing Sticker Sealing Tape for Door Draft Stopper Adhesive for Doors, Suitable for Windows, Doors
Upgraded xetended long: weather stripping each roll of weather seal is 1.8 inches wide and can cover gaps…
As an affiliate, we earn on qualifying purchases.
As an affiliate, we earn on qualifying purchases.
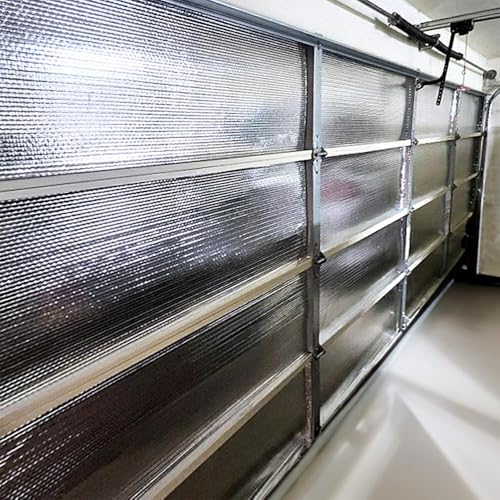
RadiantGUARD Garage Door Insulation Kit (Pre-Cut 16 Panels) Lightweight Reflective Insulation DIY Easy to Install Fits 2-Car Garage Doors 8-FT by 16-FT Radiant Barrier Technology
Make Your Garage Energy Efficient: These garage door insulation panels reflect up to 95% of radiant heat, keeping…
As an affiliate, we earn on qualifying purchases.
As an affiliate, we earn on qualifying purchases.

Elena’s passion for the arts and culture shines through in her vivid reporting. From film festivals to gallery openings, her coverage is an essential source for anyone interested in the latest cultural trends and artistic movements.